This article was originally published on Digital Image Magazine in January 2011 and is preserved here for historical reference. While the tools or trends may have evolved, the perspective they reflect remains part of my journey in the photographic world.
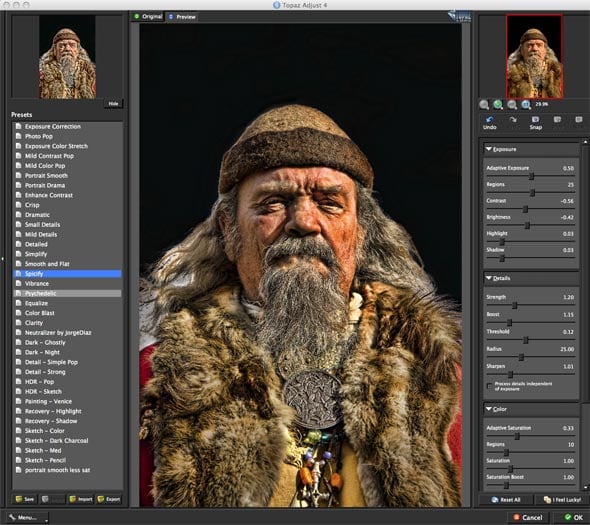
In part one and part two, we took a look at how to correct or change the lighting in a stock portrait photo, using non-destructive layer techniques. Now that we have balanced the lighting, we are ready to move forward. The goal, by the way, is to have a good image to work with in Painter. I’ve found that the Topaz Adjust filter can do amazing things with portrait photos, so I often use it to enhance the image prior to painting it in Painter. There are a number of presets in Topaz Adjust. For this portrait, I used one called “Spicify,” which brings out incredible detail, enhances contrast, and adds some dramatic color to an image. You can see the results above.
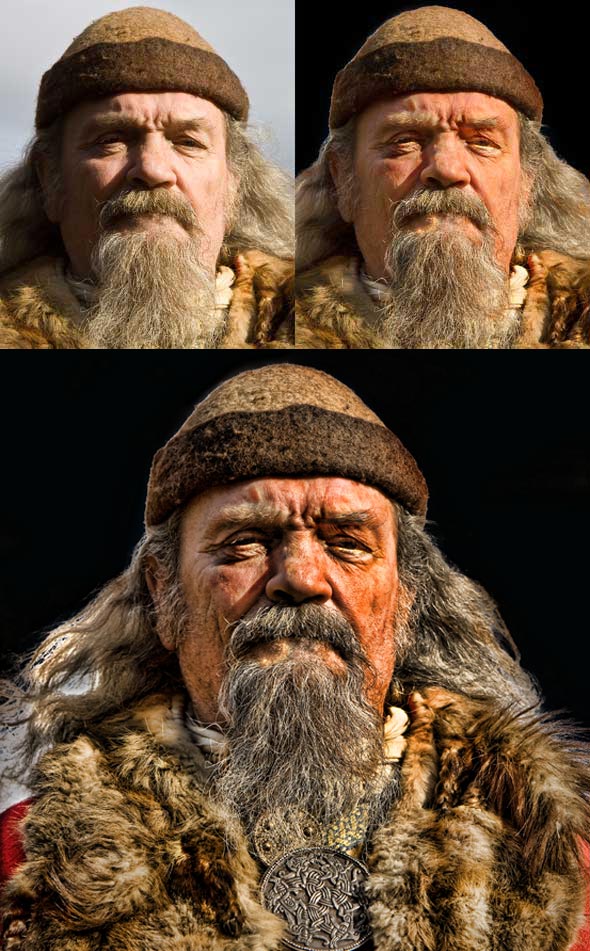
I find that the Adjust filter works very well for portraits of men and elderly people. It really brings out the details. Sometimes the results are astounding, other times, not so hot. It really depends on the image. That’s why I hesitate to give you exact settings and step-by-step instructions from here out. I hope you’ll see my method and approach, and apply it to your own work. Every image calls for something new, it seems. It’s always a new adventure! In this case, the man’s eyes were squinting from the bright sunlight (which we removed in Steps 1 and 2). To open them up, I used the lasso selection tool to draw around the eyes, and then used the Liquify filter to nudge them open a tad.
After applying the Adjust filter, I opened the image in Painter, and cloned it. “Smearing pixels” in Painter works really well with an image with lots of detail like this. You can use other methods to add detail prior to going into Painter. Photoshop’s Grain filter can help (go Filter > Texture > Grain), though it applies the texture evenly. Sometimes over-sharpening a tad can help. And believe it or not, sometimes enlarging a file from really small to really big can give you lots of texture to smooth and manipulate with Painter. I found this out by accident, when a client gave me a photo that was only a few hundred pixels wide. Of course, they asked for a large painting! I enlarged it in Photoshop to 9000 pixels wide, and it looked awful! But it resulted in a very painterly look once I began painting it in Painter.
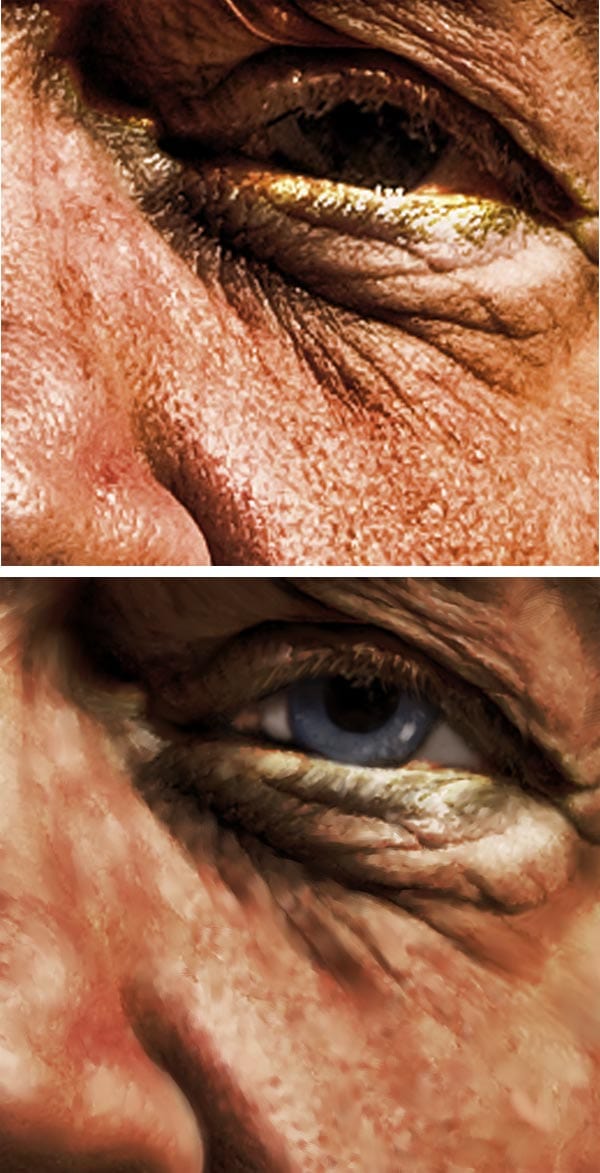
To finish up this series, I’ll leave you with this: a close-up of the image after Topaz Adjust (top), and then many hours later, after working on it in Painter. Painting begins by smearing the pixels, but lots of areas need to have fresh color brought in. Look at the eye, for instance. It’s mostly hand-painted by the time I’m done. There’s no easy way to show you how I got from A to B here, unfortunately. But I hope you find this helpful nonetheless. Next week, something new! Have a great New Year 2011!
For more in-depth Photoshop tutorials and tips, check out our comprehensive Photoshop guide. For other photography tips and tricks, visit our Photo Mastery blog.
