Originally Published October 2008
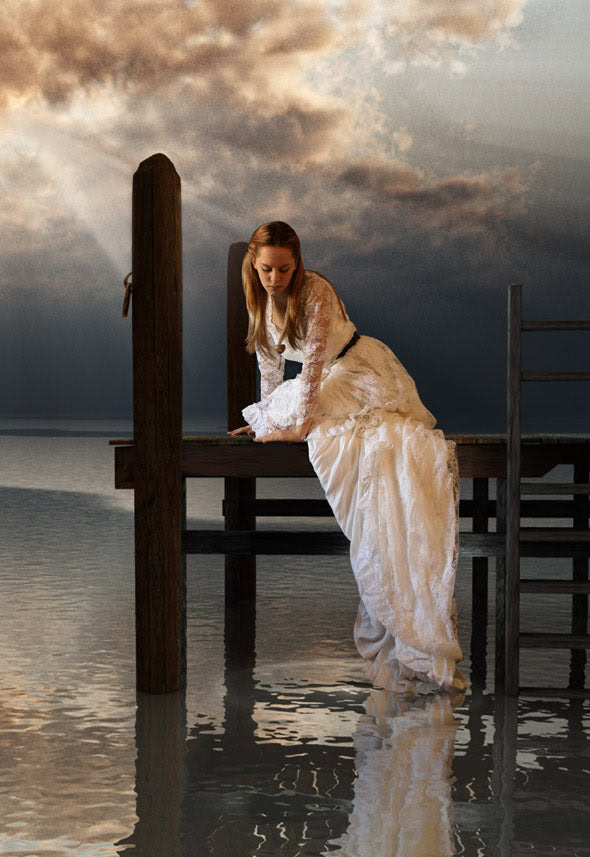
Today we continue with part two of our series on creating a digital “set” for your portrait photographs. Using Vue Infinite, you can place your portrait subject in any setting imaginable, saving a fortune on expensive backdrops and props. In part one, I showed you two images, one nighttime and one daytime. Changing time of day and weather conditions is as easy as selecting a different “atmosphere.” Today, we’ll create the daytime image. To follow along, you’ll need a copy of Vue software, which you can download for free.
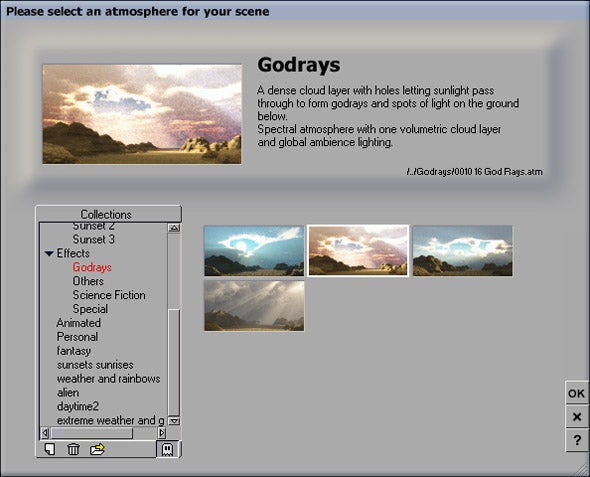
After starting up Vue, go to File > New. Vue will prompt you to choose an atmosphere for your new image. If it doesn’t, hit F5 or go to Atmosphere > Load Atmosphere. Choose the “Godrays” sky, as shown here:
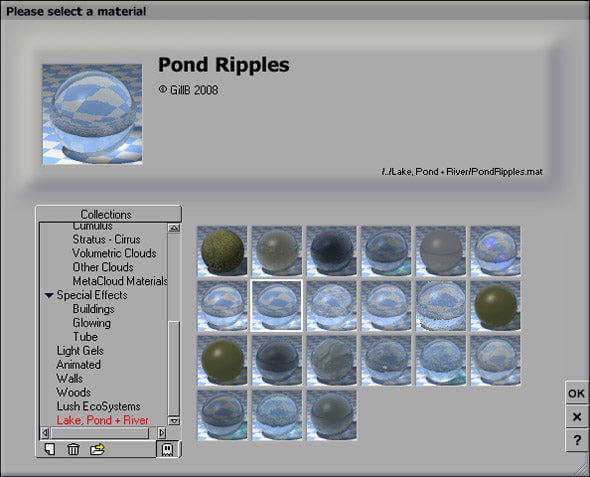
Next, from the menu, pick Object > Create > Add Water (or Shift + W). I’d like to mention an invaluable online resource for Vue users: Cornucopia 3D. This commercial site, run by the same folks who make Vue, offers a gallery to share your work, a forum for discussion, and a store selling high-quality 3D models. For this project, I used “Pond Ripples” from the Water Pack 2, available on Cornucopia.
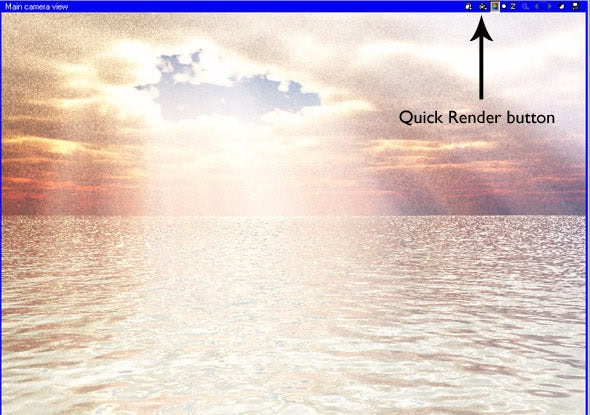
To see how your image is progressing, run a Quick Render in the Main Camera viewport by clicking the button second from the left in the upper right of the viewport window.
Now, let’s add a dock for our subject to sit on. The dock I used comes from Cornucopia and costs just seventy-five cents. Here’s what it looks like:
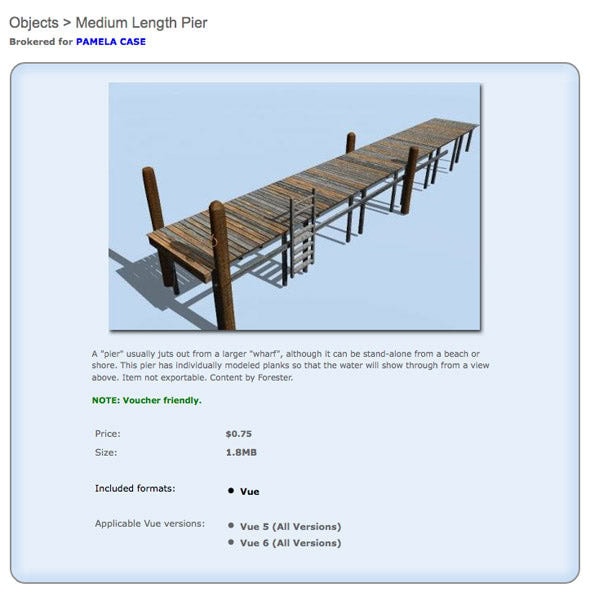
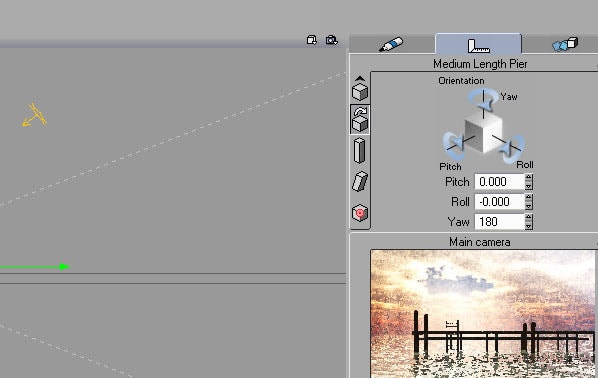
To add the dock, go to File > Load Object. Browse to the dock object, and click OK. This loads the dock into your image. Rotate it 180 degrees by entering 180 in the “yaw” field of the Numerics window:
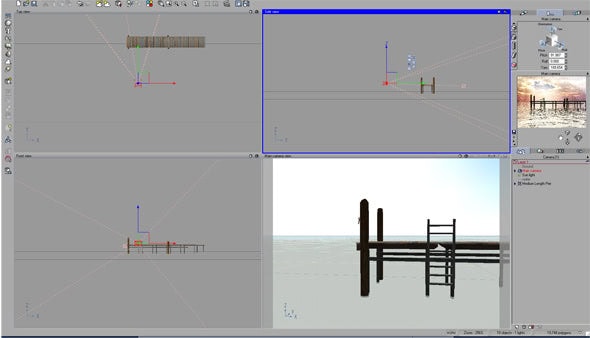
Drag the camera closer to the dock, and turn it slightly left. Adjust the camera up and tilt it downward to mimic the angle and placement in the original stock photo. Here’s what you should have at this point:
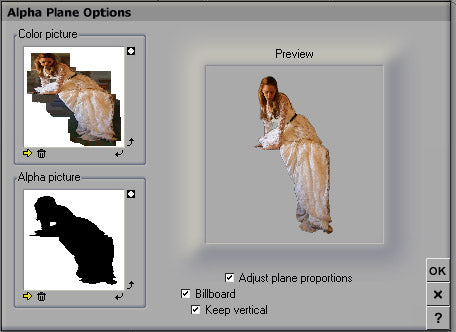
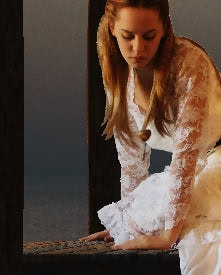
Now, let’s place the subject into the setting. Go to Object > Create > Alpha Plane, or hit Shift+H. This brings up a window where you can select your portrait file. I used a PNG file with a transparent background, created in part one of this series. After selecting the file, click all three checkboxes to ensure the image is always facing the camera straight on, the proportions are correct, and the image remains vertical. Now click OK.
This loads the portrait into the scene. Adjust the size until the subject appears proportionate to the dock, and position it so it looks like her hands are resting on the dock. You may need to adjust the camera angle to show more or less of the dock’s surface.
To complete the scene, you might need to add a spotlight to light the alpha plane, but my goal here is to give you an overview of the process. The final step involves a final render, which creates a file you can edit further in Photoshop or Painter. If you’re ready to dive into Vue, I recommend picking up a copy of Vue 6 Revealed by Richard Schrand. It’s a great resource for beginners with clear, step-by-step projects.
Next in this series, we’ll see how to transform this scene into a nighttime image, lit by moonlight. Stay tuned! (Part Three is up: see it here.)
Explore More:
If you enjoyed this tutorial, be sure to check out more tips and tricks on my Photo Mastery blog. For inspiration, dive into my Wall Art blog and explore curated galleries here. Don’t miss out on my exclusive collections, featuring captivating Urban Photography, stunning Black and White Photography, breathtaking Natural World Photography, and evocative Bygone Era Photography. Each piece tells a story—find the perfect one to complement your space.
